
การปกป้องพื้นผิวในการยืดผมเป็นการตัดสินใจทางวิศวกรรม, ไม่ใช่แค่เพิ่มแผ่นรองแบบนุ่มเท่านั้น. วัสดุชิ้นงาน, ส่วน, เสร็จ, การเคลือบ, การหล่อลื่น, เรขาคณิตสัมผัส, เส้นทางบังคับ, ความสะอาดของเครื่องมือและสภาพการสึกหรอสามารถส่งผลต่อเครื่องหมายได้, แบน, ความเสียหายเฉพาะที่และสัญญาณเรขาคณิตที่ใช้ในการควบคุมกระบวนการ. วิธีการสัมผัสที่ยอมรับได้สำหรับหนึ่งแท่ง, ลวดหรือเพลาอาจไม่เป็นที่ยอมรับสำหรับท่อเคลือบ, วารสารที่แม่นยำ, มุมโปรไฟล์หรือเครื่องมือสำเร็จรูป.
คู่มือนี้จะอธิบายกรอบการตรวจสอบความถูกต้อง. ไม่ได้อ้างว่า StraighteningTech มีวัสดุม้วนแบบใดแบบหนึ่ง, การเคลือบ, แบบฟอร์มร่อง, ขีดจำกัดความดันหรือความสามารถพื้นผิวชิ้นงาน. รายการเหล่านั้นต้องการหลักฐานจากเครื่องมือจริงและตัวอย่างที่เป็นตัวแทน.
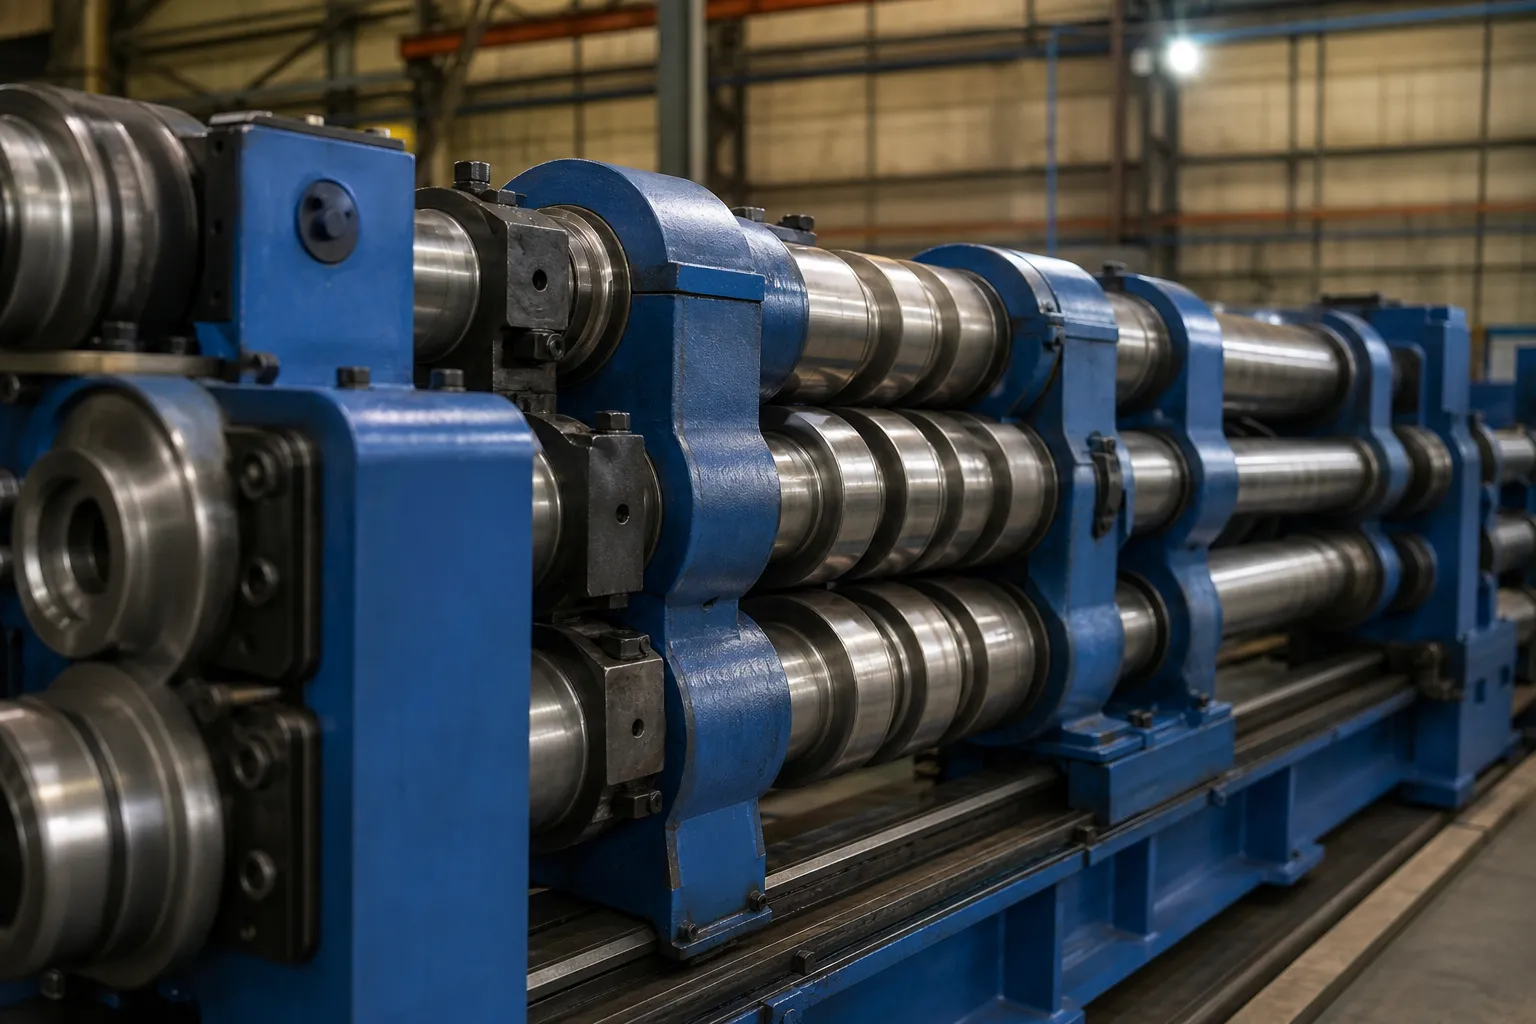
*ภาพประกอบทางวิศวกรรม. โดยแสดงให้เห็นการปกป้องการเคลือบเป็นปัญหาการตรวจสอบเฉพาะชิ้นงาน, ไม่ใช่หลักฐานของร่องสากลหรือวัสดุสัมผัสที่ได้รับอนุมัติ*
ก่อนการพิจารณาคดี, จัดทำเอกสารประจำตัวของเครื่องมือ, วัสดุ/การตกแต่งตามที่ทราบ, เรขาคณิตสัมผัส, ตำแหน่งการตั้งค่า, การจัดตำแหน่ง, วิธีการทำความสะอาด, สภาพการหล่อลื่นตามความเหมาะสม, มาตรฐานการตรวจสอบและเกณฑ์การเปลี่ยน/การสึกหรอ.
จริงๆ แล้วมาร์คมาจากไหน
ความเสียหายที่พื้นผิวในการยืดผมมีสาเหตุทางกายภาพโดยสรุป, และการตั้งชื่อเป็นขั้นตอนแรกในการควบคุมพวกเขา. แรงกดสัมผัสปกติระหว่างเครื่องมือและชิ้นงาน, คูณด้วยการเลื่อนสัมพัทธ์ใดๆ, สร้างเส้นพยานแบบคลาสสิก. เศษซากที่ติดอยู่ในโซนสัมผัส — ตะกรัน, ชิป, เศษหินเจียร — แปลงแรงกดธรรมดาเป็นการเยื้องและการขีดข่วน, ซึ่งเป็นเหตุผลว่าทำไมความสะอาดจึงเป็นตัวแปรของกระบวนการมากกว่าการดูแลทำความสะอาด. รูปทรงหน้าสัมผัสที่เน้นโหลดไปที่ขอบหรือรัศมีที่เล็กเกินไปสำหรับหน้าตัดจะทำให้เกิดความเค้นเฉพาะที่สูงกว่าค่าแรงเฉลี่ยที่แนะนำมาก. และเกินเกณฑ์เฉพาะสำหรับแต่ละวัสดุและสถานะการบำบัดความร้อน, พลาสติกที่แบนราบของความไม่แน่นอนหรือของส่วนนั้นเองจะเปลี่ยนรูปทรงของพื้นผิวอย่างถาวร. มุมช้ำบนโปรไฟล์หรือบริเวณที่เรียบบนผนังบางถือเป็นข้อบกพร่องทางเรขาคณิต, ไม่ใช่แค่เครื่องสำอางเท่านั้น.
สาเหตุทั้งหมดเหล่านี้ล้วนมีมาตรการรับมืออยู่ที่การออกแบบเครื่องมือและระเบียบวินัยของกระบวนการ: กระจายแรงผ่านพื้นที่สัมผัสที่ใหญ่ขึ้นหรือสอดคล้องกัน, กำจัดการเลื่อนโดยจัดแนวจังหวะการแก้ไขให้ตรงกับระนาบรองรับ, ไม่รวมเศษขยะด้วยการทำความสะอาดและฝาครอบตามกำหนดเวลา, และรักษาแรงให้อยู่ในระยะที่ส่วนสามารถรับน้ำหนักได้อย่างยืดหยุ่น. ไม่มีสิ่งใดที่เป็นแผ่นรอง. เม็ดมีดแบบอ่อนเป็นทางเลือกหนึ่งจากหลายตัวเลือก, และพวกเขาก็มีข้อดีข้อเสียของตัวเองด้วย — วัสดุสัมผัสที่นุ่มกว่าจะสึกหรอเร็วกว่า, เปลี่ยนรูปภายใต้รอบการแก้ไขที่ยั่งยืน, และสามารถเปลี่ยนรูปทรงการรองรับที่มีประสิทธิภาพเมื่ออายุมากขึ้น, ซึ่งทำให้ผลการแก้ไขเปลี่ยนแปลงไปอย่างเงียบๆ.
การตัดสินใจเกี่ยวกับวัสดุเครื่องมือและรูปทรงหน้าสัมผัส
การเลือกเครื่องมือแบบสัมผัสเป็นการแลกเปลี่ยนสามทางระหว่างการปกป้องพื้นผิว, ความเสถียรของมิติของเครื่องมือนั้นเอง, และสวมใส่ชีวิต. เครื่องมือที่ทำจากเหล็กชุบแข็งช่วยยึดรูปทรงของร่องไว้ตลอดระยะการทำงานที่ยาวนาน และช่วยให้วนการวัดและแก้ไขสามารถทำซ้ำได้, แต่จะเน้นไปที่ความเครียดจากการสัมผัสและไม่ทนต่อเศษซาก. โลหะผสมที่ไม่ใช่เหล็กและเม็ดมีดโพลีเมอร์ที่นุ่มนวลกว่าจะช่วยลดความเครียดในพื้นที่และให้อภัยอนุภาคขนาดเล็ก, โดยเสียค่าใช้จ่ายในการสึกหรอเร็วขึ้นและต้องผ่านการรับรองแบบฟอร์มการติดต่อใหม่เป็นระยะ. หน้าสัมผัสตามแบบแผน — ร่องหรืออานที่เข้ากันกับรัศมีหน้าตัด — กระจายน้ำหนักเมื่อเทียบกับหน้าทั่งเรียบ, และรัศมีที่กว้างบนทุกขอบที่สามารถสัมผัสชิ้นงานได้ ช่วยขจัดความเข้มข้นของความเค้นที่ทำให้เกิดรอยช้ำแม้ใช้แรงปานกลาง.
สองสาขาวิชาทำให้ตัวเลือกเหล่านั้นสามารถตรวจสอบได้แทนที่จะเป็นนิสัย. อันดับแรก, องค์ประกอบเครื่องมือแต่ละชิ้นจำเป็นต้องมีเอกลักษณ์: วัสดุ, แบบฟอร์มการติดต่อ, โซนชิ้นงานที่ได้รับการอนุมัติ, และขีดจำกัดการสึกหรอระบุเป็นเกณฑ์ที่วัดได้ — ส่วนเบี่ยงเบนโปรไฟล์ของร่อง, การฝังที่มองเห็นได้, การเปลี่ยนแปลงมิติของเม็ดมีด - ไม่ใช่เป็นการตัดสิน. ที่สอง, การเปลี่ยนแปลงส่วนประกอบการติดต่อถือเป็นการเปลี่ยนแปลงกระบวนการ: ส่วนแรกหลังจากเปลี่ยนม้วน, การต่ออายุเม็ดมีดหรือการกราวด์ทั่งใหม่ภายใต้กฎหลักฐานการทดสอบตัวอย่างเดียวกันกับการตั้งค่าใหม่, เพราะต้องยืนยันผลลัพธ์พื้นผิวและเรขาคณิตอีกครั้ง, ไม่ถือว่า. สิ่งเหล่านี้เป็นนิสัยการควบคุมการเปลี่ยนแปลงแบบเดียวกับที่ รายการตรวจสอบ FAT ของเครื่อง บังคับใช้เมื่อได้รับการยอมรับ, ใช้ทุกวัน.
รักษาความสะอาดของเครื่องมือและควบคุมการสึกหรอ
เศษซากที่ฝังอยู่, ร่องสึกหรอ, ลูกกลิ้งเสียหาย, การวางแนวที่ไม่ตรงและการปรับที่ไม่สอดคล้องกันอาจทำให้เกิดรอยหรือรูปทรงที่ทำให้เข้าใจผิดได้. แผนป้องกันควรระบุความถี่ในการตรวจสอบ, วิธีการทำความสะอาด, เกณฑ์การสึกหรอ, การควบคุมการเปลี่ยนเครื่องมือและการตรวจสอบคุณสมบัติใหม่หลังจากเปลี่ยนส่วนประกอบหน้าสัมผัส. ไม่ควรอาศัยการแสดงภาพว่าเครื่องมือ "ดูดี"
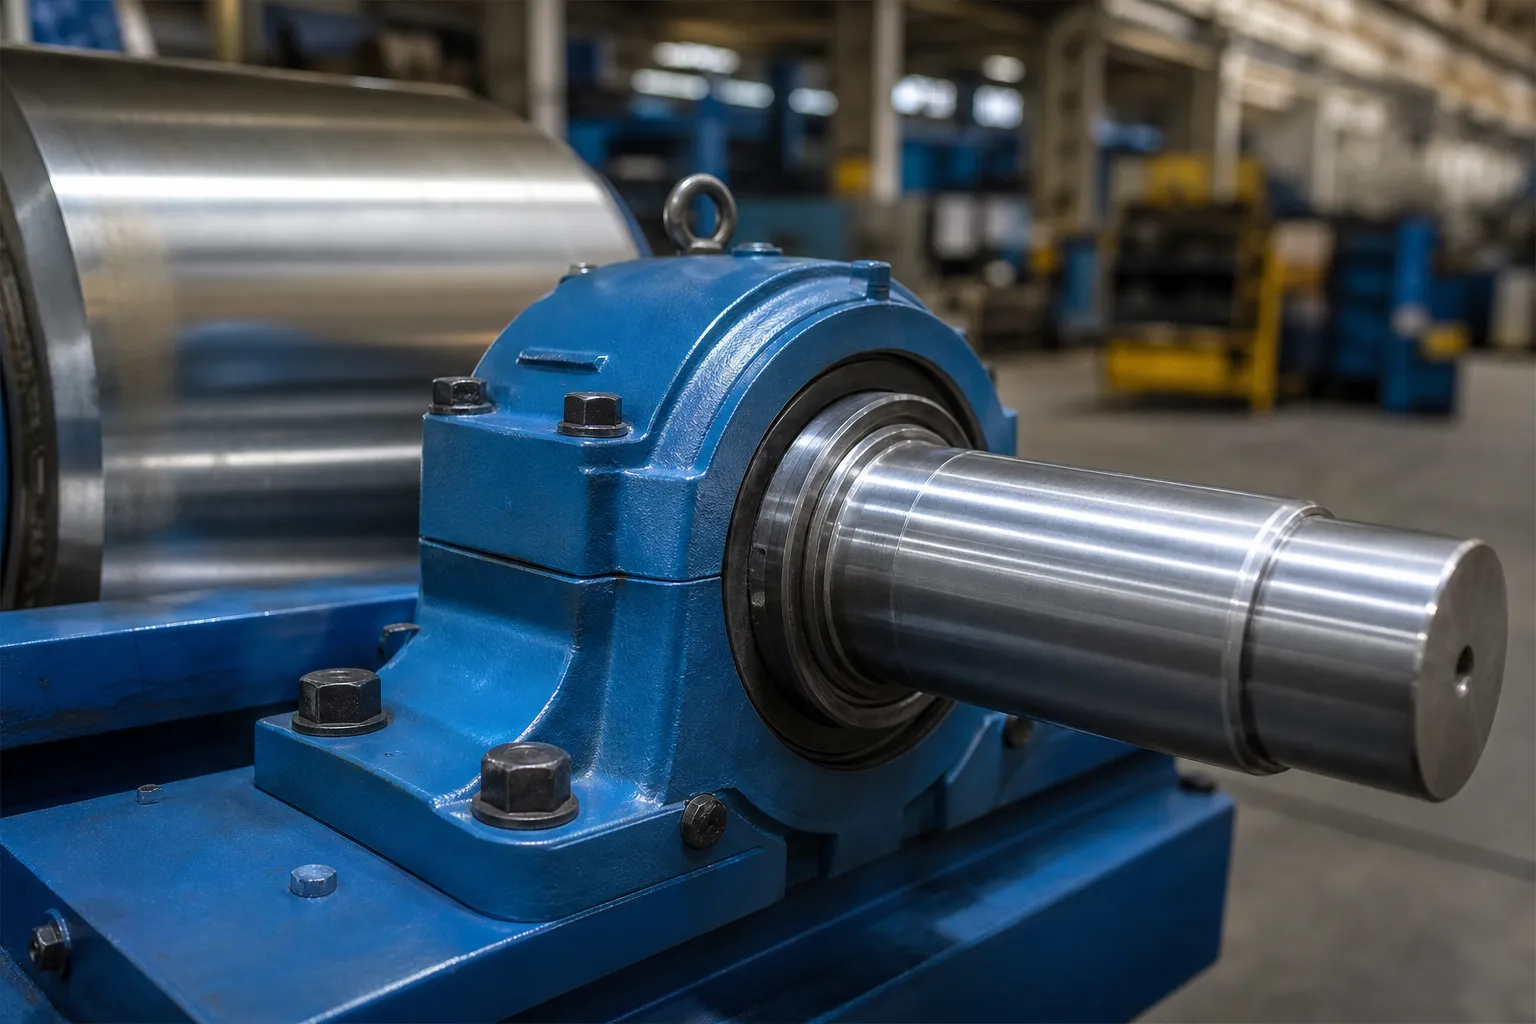
*ภาพประกอบทางวิศวกรรม. แสดงถึงการสัมผัสที่ได้รับการป้องกันตามข้อกำหนดทางวิศวกรรม; มันไม่ได้สร้างวัสดุลูกกลิ้งในเครื่อง, ขีดจำกัดแรงดันหรือการรับประกันคุณภาพพื้นผิว*
ตรวจสอบพื้นผิวและเรขาคณิตร่วมกัน
การป้องกันพื้นผิวไม่สามารถตรวจสอบได้โดยการตรวจหารอยขีดข่วนที่มองเห็นได้เท่านั้น. การทดสอบตัวอย่างยังต้องยืนยันรูปทรงที่ต้องการภายใต้ข้อมูลที่ได้รับอนุมัติและสถานะที่ปล่อยออกมา. เส้นทางที่ปกป้องพื้นผิวแต่ไม่สามารถตอบสนองรูปทรงที่ต้องการนั้นไม่เป็นที่ยอมรับ; เส้นทางที่ตรงตามรูปทรงแต่ความเสียหายต่อการเคลือบใช้งานนั้นไม่เป็นที่ยอมรับ.
| รายการตรวจสอบ | หลักฐานที่จำเป็น |
|---|---|
| สถานที่ติดต่อและเส้นทางปฏิกิริยา | บันทึกการใช้เครื่องมือ/การตั้งค่าเชื่อมโยงกับโซนการวาด |
| สภาพพื้นผิว | วิธีการตรวจสอบที่ตกลงกันก่อนและหลังการแก้ไข |
| ผลลัพธ์ทางเรขาคณิต | การอ่านค่าสถานะที่ปล่อยออกมาบนข้อมูล/เกจที่ได้รับอนุมัติ |
| การทำซ้ำของเครื่องมือ | ทำซ้ำการตั้งค่า, ความสะอาดและการตรวจสอบการสึกหรอ |
| การควบคุมการเปลี่ยนแปลง | การระบุและการตรวจสอบความถูกต้องอีกครั้งหลังการเปลี่ยนลูกกลิ้ง/ร่อง/เครื่องมือ |
ใช้ การทดสอบและการยอมรับตัวอย่างให้ตรง เพื่อกำหนดชุดหลักฐาน, และ การกดกับการยืดผมด้วยลูกกลิ้ง เพื่อพิจารณาว่าควรประเมินวิธีการแก้ไขแบบอื่นหรือไม่.
เส้นทางแห่งพลังมีความสำคัญมากกว่าแผ่นรอง
ความล้มเหลวในการป้องกันพื้นผิวที่พบบ่อยที่สุดคือการรักษาความเสี่ยงจากการสัมผัสเป็นคำถามที่สำคัญ โดยไม่สนใจเส้นทางโหลด. ที่ที่รองรับนั่ง, ที่จุดกดทำหน้าที่, และตำแหน่งเหล่านั้นเกี่ยวข้องกับลักษณะแข็งของส่วนนี้อย่างไร จะกำหนดว่าปฏิบัติการต้องใช้กำลังเท่าใดในตอนแรก. จังหวะการแก้ไขที่ใช้ช่วงกลางระหว่างตัวรองรับที่มีระยะห่างกันอย่างกว้างขวางนั้นต้องการแรงมากขึ้น — และทิ้งรอยพยานไว้ลึกกว่ามาก — กว่าการแก้ไขแบบเดียวกันกับที่ใช้กับตัวรองรับใกล้กับจุดแก้ไข, แม้จะมีเครื่องมือเหมือนกันก็ตาม. การจัดแนวแกนกดให้ตรงกับระนาบรองรับเพื่อให้ชิ้นส่วนไม่เลื่อนหรือหมุนภายใต้ภาระ จะช่วยขจัดความเสียหายของส่วนประกอบที่เลื่อนออกไปโดยสิ้นเชิง. ในส่วนที่มีความแข็งไม่สมมาตร, การกดไปในทิศทางที่ไม่ถูกต้องจะทำให้ผนังบางเกิดการโค้งงอ และทำให้เกิดรอยบุบเฉพาะที่ซึ่งไม่มีวัสดุแทรกใดสามารถป้องกันได้.
ด้วยเหตุนี้การปกป้องพื้นผิวจึงได้รับการออกแบบร่วมกับแผนการแก้ไข, ไม่ยึดติดทีหลัง. แผนที่ข้อผิดพลาดที่ขับเคลื่อนจุดแก้ไขควรทำเครื่องหมายโซนที่ห้ามการติดต่อด้วย - บันทึกประจำวันที่เสร็จแล้ว, เคลือบบนพื้นผิวซีล, สีข้างขัดเงา — และโครงร่างเครื่องมือควรวางส่วนรองรับและกดจุดที่ส่วนสามารถรับน้ำหนักได้. เมื่อข้อกำหนดทั้งสองนี้ขัดแย้งกัน, นั่นเป็นสัญญาณที่ชัดเจนว่าจะบานปลายไปสู่เส้นทางอื่นที่กล่าวถึงด้านล่าง, เป็นไปตามตรรกะการจัดการที่ใช้เมื่อใด ชิ้นส่วน NOK ได้รับการจัดเรียงและนำกลับมาทำใหม่.
คลาสพื้นผิวและความไว
ไม่ใช่ทุกพื้นผิวที่ต้องการการปกป้องในระดับเดียวกัน, และปฏิบัติต่อสิ่งเหล่านั้นเหมือนกันไม่ว่าจะเป็นการสิ้นเปลืองความพยายามหรือทำให้ชิ้นส่วนเสียหาย. ตารางด้านล่างจัดกลุ่มพื้นผิวชิ้นงานตามตัวขับเคลื่อนความไว และการตรวจสอบเน้นความต้องการของแต่ละประเภท. เป็นตัวช่วยวางแผนสำหรับการทดสอบตัวอย่าง, ไม่ใช่สิ่งทดแทนข้อกำหนดการวาดภาพ.
| ระดับพื้นผิว | ไดรเวอร์ความไว | เน้นการตรวจสอบ |
|---|---|---|
| วารสารกราวด์หรือเทิร์น | ความทนทานต่อมิติและรูปร่างของเส้นผ่านศูนย์กลางที่ใช้งาน | ประจักษ์พยานอย่างลึกซึ้งต่อความอดทน; ตรวจสอบเรขาคณิตอีกครั้งที่วารสาร |
| พื้นผิวชุบหรือเคลือบ | ความสมบูรณ์ของการเคลือบผิว; การแตกร้าวหรือการยึดเกาะภายใต้ความเครียดในท้องถิ่น | การตรวจสอบการเคลือบตามข้อตกลงก่อนและหลังการแก้ไข |
| สีข้างและขอบขัดเงา | ระดับความหยาบของเครื่องสำอางและการใช้งาน | วิธีการเปรียบเทียบความสําเร็จที่กำหนด, ไม่ใช่การตัดสินด้วยสายตาโดยลำพัง |
| ส่วนที่ไม่ใช่เหล็กอ่อน | ความแข็งต่ำ; เสี่ยงต่อการแบนถาวร | ขีดจำกัดพื้นที่สัมผัส; การวัดแบบฟอร์มส่วนใหม่ |
| ส่วนผนังบาง | การบุ๋มเฉพาะที่และการตกไข่จากภาระที่มีความเข้มข้น | รองรับการวางตำแหน่งภายใต้โซนแข็ง; การตรวจสอบความกลมหลังการแก้ไข |
| ขอบการทำงานบนเครื่องมือ | รูปทรงการตัดและการเตรียมขอบ | การตรวจสอบสภาพขอบ; การแก้ไขเฉพาะในโซนไม่ทำงานเท่านั้น |
ด้ามและร่องเครื่องมือตัดถือเป็นส่วนสำคัญที่สุดของแถวสุดท้าย, ซึ่งเป็นเหตุผลว่าทำไม การเจาะปืนและการเจาะรูลึก ถือว่าการป้องกันโซนสัมผัสเป็นอินพุตกระบวนการลำดับแรกควบคู่ไปกับการเลือกข้อมูล. ลำดับชั้นเดียวกัน — จำแนกพื้นผิว, กำหนดการตรวจสอบ, พิสูจน์เส้นทางด้วยตัวอย่าง — ย่อขนาดไปจนถึงงานบาร์ธรรมดา.
เมื่อความเสี่ยงบนพื้นผิวต้องใช้เส้นทางอื่น
หากโซนสัมผัสที่มีอยู่ไม่สามารถรักษาความสมบูรณ์ของพื้นผิวหรือส่วนที่ต้องการได้, การตัดสินใจที่ถูกต้องอาจเป็นเครื่องมือที่แตกต่าง, ขั้นตอนการผลิตที่แตกต่างกัน, วิธีการแก้ไขที่แตกต่างกัน, เบี้ยเลี้ยงเพิ่มเติม, กลยุทธ์การวัดแบบไม่สัมผัส, หรือถือรอการตรวจสอบทางวิศวกรรม. อย่าบังคับชิ้นส่วนผ่านเส้นทางที่ไม่ผ่านการตรวจสอบเพื่อให้บรรลุเป้าหมายการผลิต. เชื่อม ท่อระบายความร้อนด้วยของเหลว เป็นตระกูลชิ้นงานกลุ่มหนึ่งที่ต้องตรวจสอบความเสี่ยงบริเวณหน้าสัมผัสก่อนรอบการกดใดๆ.
สำหรับผนังบางและขอบเขตการเคลือบ, ดู การยืดเพลากลวงแบบผนังบาง และ การวัดความตรงแบบสัมผัสเทียบกับแบบไม่สัมผัส.
คำถามที่พบบ่อย
ทำแผ่นนุ่มป้องกันความเสียหายพื้นผิวทั้งหมด?
เลขที่. เรขาคณิตติดต่อ, เส้นทางบังคับ, เศษซาก, สวมใส่, การจัดตำแหน่งและพื้นผิวชิ้นงานทั้งหมดจำเป็นต้องมีการตรวจสอบความถูกต้อง.
สามารถใช้ร่องม้วนซ้ำได้ทุกส่วน?
เลขที่. เรขาคณิตของส่วน, สภาพผนัง, ความต้องการพื้นผิวและเส้นทางปฏิกิริยาจะกำหนดว่าร่องมีความเหมาะสมหรือไม่.
การตรวจสอบด้วยสายตาเพียงอย่างเดียวก็เพียงพอแล้ว?
เลขที่. กระบวนการยังต้องแสดงให้เห็นถึงเรขาคณิตในสถานะที่ปล่อยออกมา และวิธีการยอมรับพื้นผิว/คุณสมบัติที่ตกลงกันไว้.
พื้นผิวประเภทใดที่ต้องการการปกป้องมากที่สุด?
พื้นผิวชุบหรือเคลือบ, สีข้างขัดเงา, ส่วนที่ไม่ใช่เหล็กอ่อน, ผนังบางและขอบใช้งานของเครื่องมือตัด. แต่ละคลาสมีโหมดความล้มเหลวที่แตกต่างกัน — การแตกร้าวของการเคลือบ, แบน, การบุ๋ม, ความเสียหายที่ขอบ — ดังนั้นวิธีการตรวจสอบจะต้องตรงกับโหมดความล้มเหลว, และการทดสอบตัวอย่างจะต้องพิสูจน์ทั้งเรขาคณิตของพื้นผิวและสถานะที่ปล่อยออกมา.
การสึกหรอของเครื่องมือกลายเป็นเกณฑ์วัตถุประสงค์ได้อย่างไร?
โดยการเขียนขีดจำกัดที่สามารถวัดได้ลงในบันทึกการใช้เครื่องมือก่อนเริ่มการผลิต: ส่วนเบี่ยงเบนโปรไฟล์ร่องจากรูปแบบเดิม, การเปลี่ยนแปลงมิติของเม็ดมีด, เศษขยะที่ฝังอยู่ซึ่งการทำความสะอาดไม่สามารถขจัดออกได้, หรือนับจำนวนรอบการแก้ไข. เมื่อถึงขีดจำกัดแล้ว, ชิ้นส่วนเครื่องมือจะถูกเปลี่ยนหรือปรับสภาพใหม่ และชิ้นส่วนแรกหลังการเปลี่ยนแปลงจะถูกตรวจสอบคุณสมบัติใหม่ภายใต้กฎการทดสอบตัวอย่าง.
ตำแหน่งรองรับส่งผลต่อความเสียหายของพื้นผิวหรือไม่?
ใช่, อย่างยิ่ง. ช่วงรองรับและตำแหน่งจุดกดจะกำหนดแรงที่ต้องการในการปฏิบัติงาน, และรัศมีขอบจะกำหนดว่าแรงนั้นมีสมาธิอย่างไร. การขยับตัวรองรับให้ใกล้กับโซนแก้ไขมากขึ้น และการรักษารัศมีของคมตัดทุกจุดมักจะช่วยลดความรุนแรงของพยานได้มากกว่าการเปลี่ยนแปลงวัสดุเม็ดมีดใดๆ, เพราะมันโจมตีแรงและเรขาคณิตแทนที่จะเป็นเพียงคู่สัมผัสเท่านั้น.
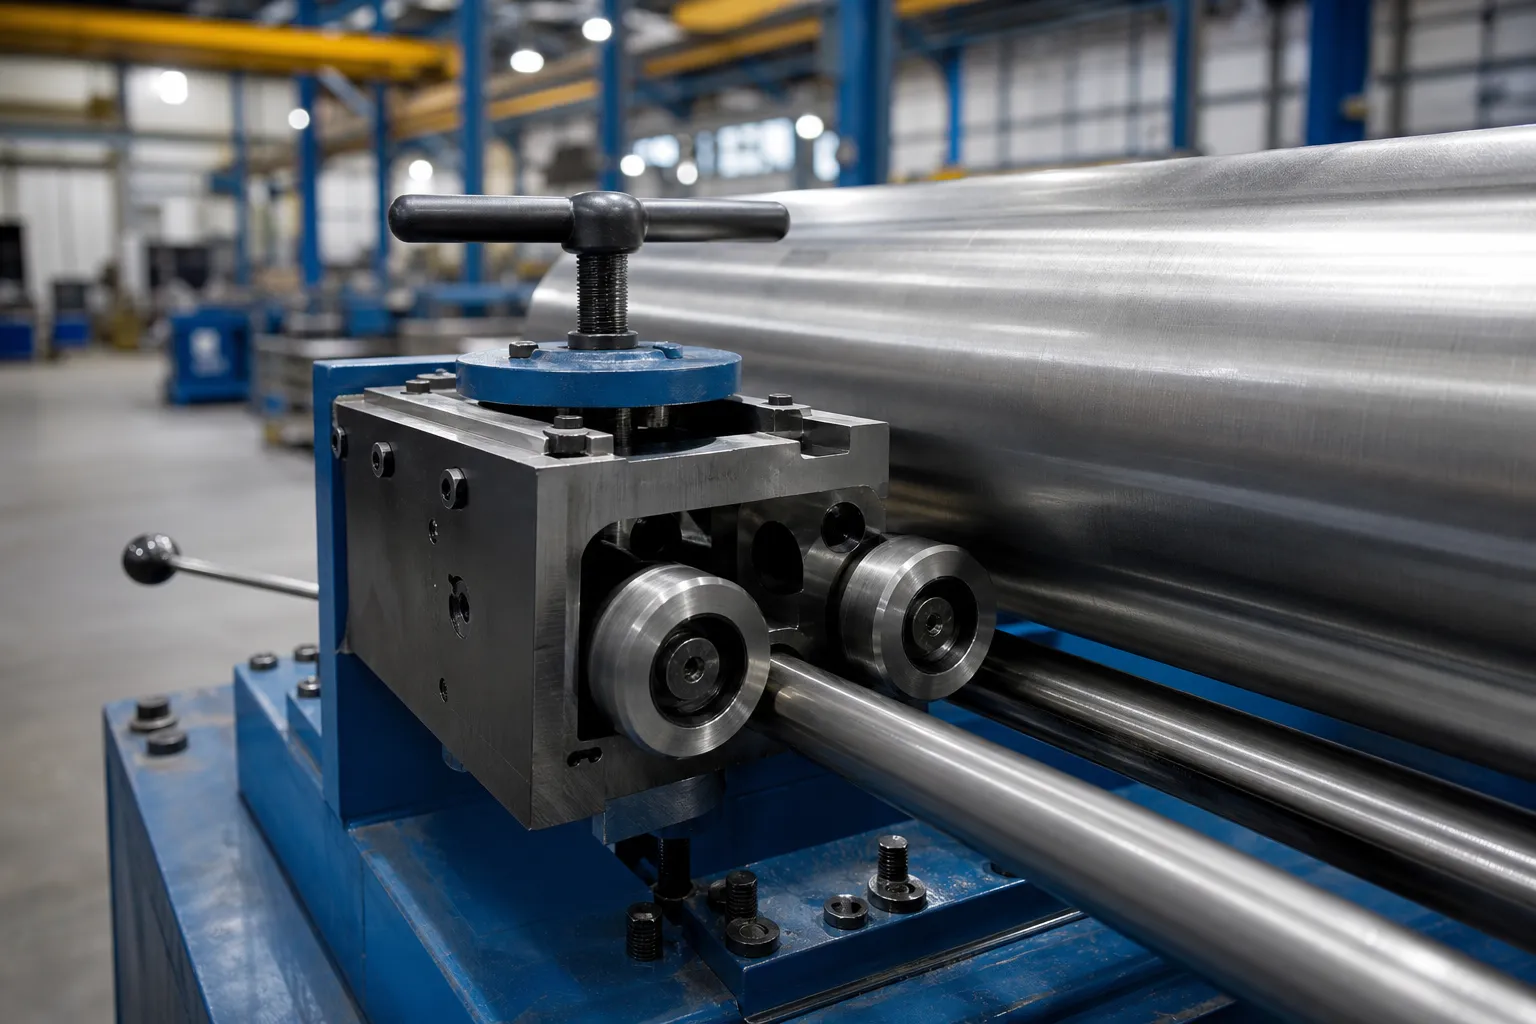
*ภาพประกอบแนวคิดทางวิศวกรรม*
การยืดผมก่อน vs หลังการชุบหรือเคลือบ
ยืดผมก่อน vs หลังชุบหรือเคลือบ ได้รับการจัดการเป็นหัวข้อการสัมผัสพื้นผิวและความเสี่ยงในการใช้เครื่องมือ แทนที่จะเป็น URL แบบสแตนด์อโลน. ตรวจสอบความแข็งของการเคลือบ, สัมผัสกับความเค้นและขีดจำกัดการทำงานซ้ำบนหน้าเครื่องมือป้องกันพื้นผิวและบนหน้าชิ้นงานที่เกี่ยวข้องก่อนเลือกขั้นตอนการยืดผมตรง.
การตัดสินใจเกี่ยวกับการปกป้องพื้นผิวเช่นนี้จะแสดงโดยตรงบนชิ้นส่วนที่เสร็จแล้ว – ที่ คู่มือเครื่องหมายเครื่องมือ ครอบคลุมความเสียหายจากการสัมผัสโดยละเอียด, และ ยืดและแตกมากเกินไป ครอบคลุมด้านการเปลี่ยนรูปของความเสี่ยงเดียวกัน.