
La protection des surfaces lors du redressage est une décision technique, pas simplement en ajoutant un coussinet souple. Le matériau de la pièce à usiner, section, finition, revêtement, lubrification, géométrie des contacts, chemin de force, la propreté et l'état d'usure des outillages peuvent chacun influencer les marques, aplanissement, dommages locaux et signal géométrique utilisé pour contrôler le processus. Une méthode de contact acceptable pour une barre, le fil ou l'arbre peut être inacceptable pour un tube revêtu, journal de précision, coin de profil ou outil fini.
Ce guide explique un cadre de validation. Il ne prétend pas que StraighteningTech ait un matériau de rouleau particulier, revêtement, forme de rainure, limite de pression ou capacité de la surface de la pièce. Ces éléments nécessitent des preuves provenant de l'outillage réel et d'échantillons représentatifs.
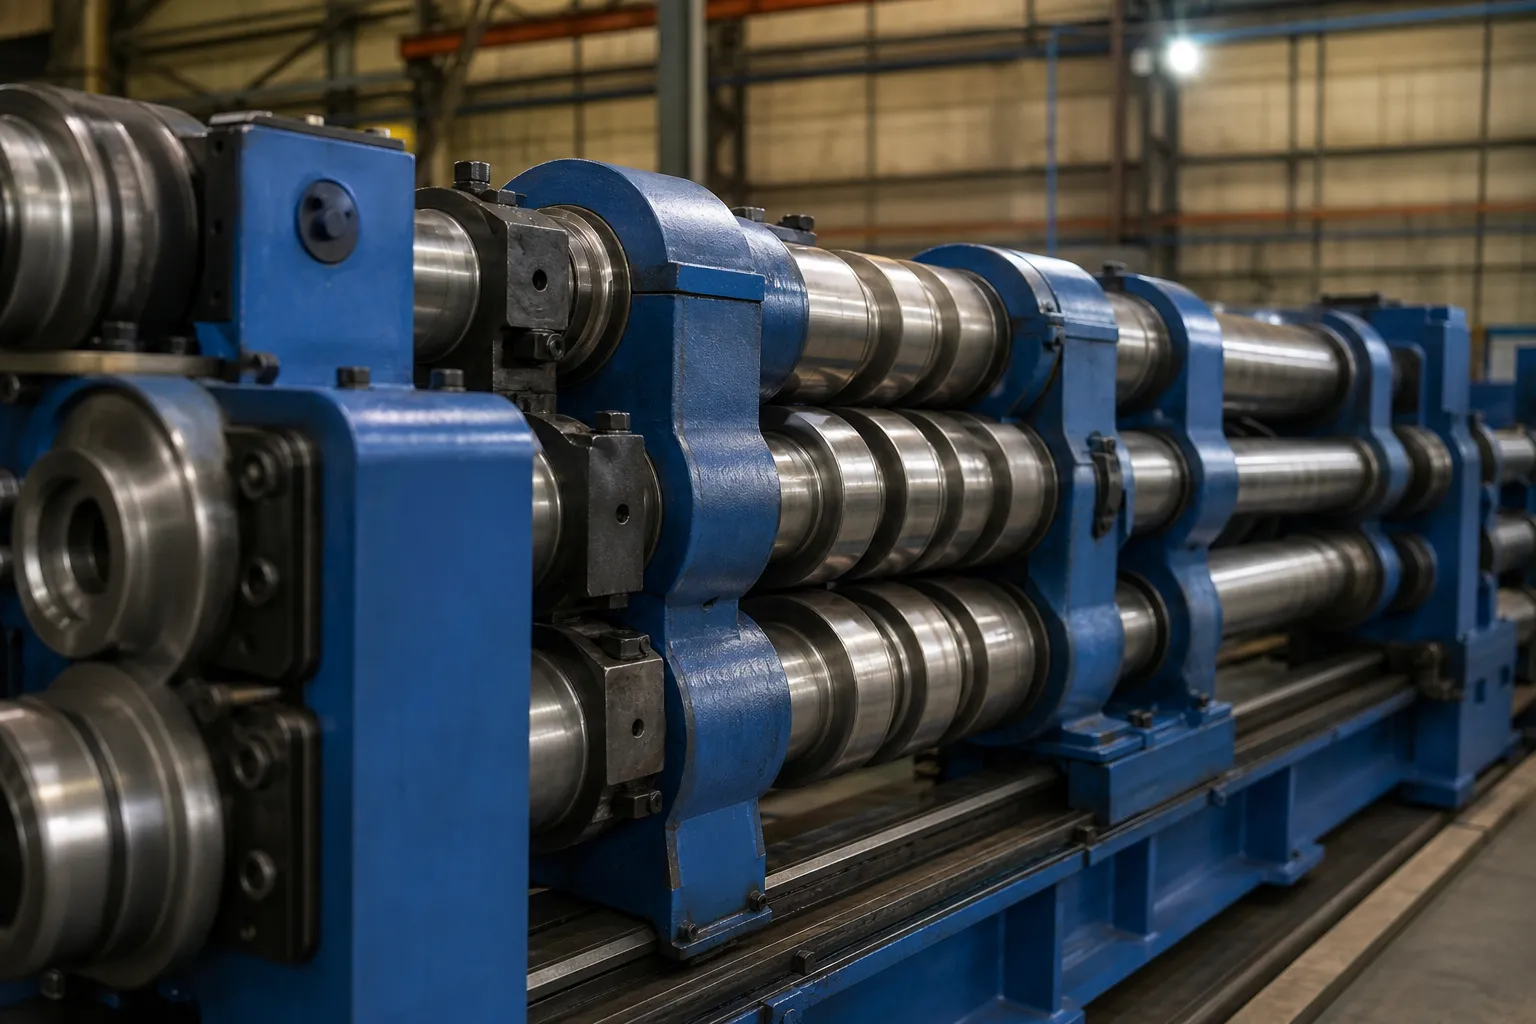
*Illustration du concept d'ingénierie. Il montre la protection du revêtement comme un problème de validation spécifique à la pièce, il ne s'agit pas d'une preuve d'une rainure universelle ou d'un matériau de contact approuvé.*
Avant un procès, documenter l'identité de l'outil, matériau/finition si connu, géométrie des contacts, emplacement d'installation, alignement, méthode de nettoyage, état de lubrification le cas échéant, norme de contrôle et seuil de remplacement/usure.
Where Marks Actually Come From
Surface damage in straightening has a short list of physical causes, and naming them is the first step to controlling them. Normal contact pressure between tooling and workpiece, multiplied by any relative sliding, produces the classic witness line. Debris trapped in the contact zone — scale, chips, grinding swarf — converts ordinary pressure into indentation and scratching, which is why cleanliness is a process variable rather than housekeeping. A contact geometry that concentrates load on an edge or a radius that is too small for the section raises local stress far above what the average force suggests. And beyond a threshold specific to each material and heat-treatment state, local plastic flattening of asperities or of the section itself changes surface geometry permanently. A bruised corner on a profile or a flattened zone on a thin wall is a geometry defect, not only a cosmetic one.
Every one of those causes has a countermeasure that lives in tooling design and process discipline: distribute force through larger or conforming contact areas, eliminate sliding by aligning the correction stroke with the support plane, exclude debris through scheduled cleaning and covers, and keep forces within the range the section can carry elastically. None of them is a pad. Soft inserts are one option among several, and they bring their own trade-offs — softer contact materials wear faster, deform under sustained correction cycles, and can change the effective support geometry as they age, which quietly alters the correction result.
Tooling Material and Contact Geometry Decisions
Selecting contact tooling is a three-way trade between surface protection, dimensional stability of the tooling itself, and wear life. Hardened steel tooling holds its groove geometry through long runs and keeps the measurement-and-correction loop repeatable, but it concentrates contact stress and tolerates no debris. Softer non-ferrous alloys and polymer inserts lower local stress and forgive small particles, at the cost of faster wear and periodic requalification of the contact form. Conformal contact — a groove or saddle matched to the section radius — spreads load compared with a flat anvil face, and generous radii on every edge that can touch the workpiece remove the stress concentrations that cause bruising even at moderate force.
Two disciplines make those choices verifiable instead of habitual. D'abord, each tooling element needs an identity: matériel, contact form, the workpiece zones it is approved for, and a wear limit stated as a measurable criterion — profile deviation of the groove, visible embedding, dimensional change of the insert — not as a judgment call. Deuxième, a change in any contact component is a process change: the first parts after a roll change, an insert renewal or a re-ground anvil run under the same sample-test evidence rules as a new setup, because the surface and geometry result must be reconfirmed, pas supposé. These are the same change-control habits that listes de contrôle FAT de la machine enforce at acceptance, applied daily.
Gardez les outils propres et contrôlez l’usure
Débris incrustés, rainures usées, rouleaux endommagés, un mauvais alignement et un ajustement incohérent peuvent produire des marques ou une géométrie trompeuse. Un plan de protection doit préciser la fréquence des inspections, méthode de nettoyage, critères d'usure, un contrôle de changement d'outil et un contrôle de requalification après un changement d'élément de contact. Il ne faut pas s’appuyer sur une déclaration visuelle selon laquelle l’outillage « a l’air bien ».
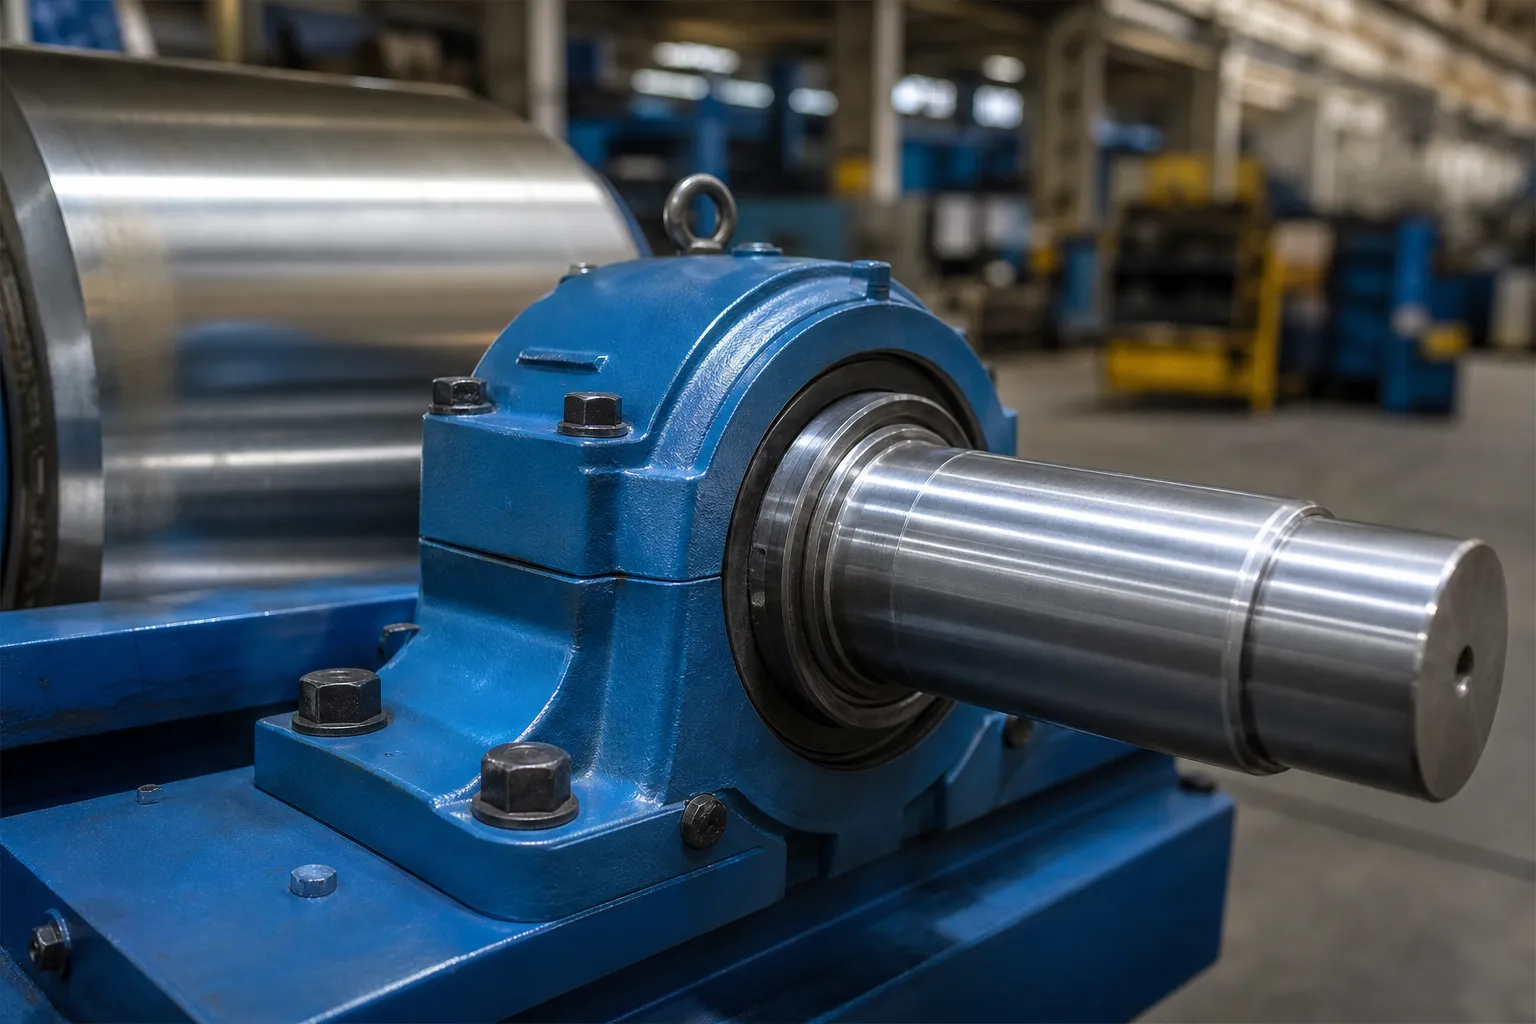
*Illustration du concept d'ingénierie. Il décrit le contact protégé comme une exigence technique; il n'établit pas de matériau de rouleau local, limite de pression ou garantie de qualité de surface.*
Validez ensemble la surface et la géométrie
La protection de la surface ne peut être validée uniquement en vérifiant les rayures visibles. L'essai sur échantillon doit également confirmer la géométrie prévue selon les données approuvées et l'état publié.. Un tracé qui protège la surface mais ne peut pas respecter la géométrie requise n'est pas acceptable.; un tracé qui respecte la géométrie mais endommage un revêtement fonctionnel n'est pas acceptable.
| Élément de validation | Preuve requise |
|---|---|
| Emplacement du contact et chemin de réaction | Enregistrement d'outillage/configuration lié aux zones de dessin |
| État des surfaces | Méthode d’inspection convenue avant et après correction |
| Résultat de géométrie | Lectures à l'état de sortie sur la donnée/jauge approuvée |
| Répétabilité des outils | Répéter la configuration, contrôle de propreté et d'usure |
| Changer le contrôle | Identification et revalidation après changement de laminage/rainure/outil |
Utiliser Test d'échantillon de redressage et acceptation définir le dossier de preuves, et presse contre redressage à rouleaux pour déterminer si une méthode de correction différente doit être évaluée.
The Force Path Matters More Than the Pad
The most common surface-protection failure is treating contact risk as a material question while ignoring load path. Where the supports sit, where the press point acts, and how those locations relate to the stiff features of the section determine how much force the operation needs in the first place. A correction stroke applied mid-span between widely spaced supports demands far more force — and leaves far deeper witness marks — than the same correction applied with supports closer to the correction point, even with identical tooling. Aligning the press axis with the support plane so the part does not slide or rotate under load removes the sliding component of damage entirely. On sections with asymmetric stiffness, pressing in the wrong direction loads a thin wall in bending and creates local dents that no insert material can prevent.
This is why surface protection is designed jointly with the correction plan, not bolted on afterward. The error map that drives the correction points should also mark the zones where contact is forbidden — finished journals, coating on sealing surfaces, polished flanks — and the tooling layout should place supports and press points where the section can carry the load. When those two requirements conflict, that is precisely the signal to escalate to the alternative routes discussed below, following the disposition logic used when NOK parts are sorted and reworked.
Surface Classes and Their Sensitivity
Not all surfaces need the same level of protection, and treating them identically either wastes effort or ruins parts. The table below groups workpiece surfaces by their sensitivity drivers and the validation focus each class demands. It is a planning aid for the sample test, not a substitute for drawing requirements.
| Surface class | Sensitivity driver | Validation focus |
|---|---|---|
| Ground or turned journals | Dimensional and form tolerance on functional diameters | Witness depth against tolerance; geometry re-check at the journal |
| Plated or coated surfaces | Coating integrity; cracking or adhesion under local stress | Agreed coating inspection before and after correction |
| Polished flanks and edges | Cosmetic and functional roughness levels | Defined finish comparison method, not unaided visual judgment |
| Soft non-ferrous sections | Low hardness; risk of permanent flattening | Contact-area limits; section form re-measurement |
| Thin-wall sections | Local denting and ovalization from concentrated load | Support placement under stiff zones; roundness checks after correction |
| Functional edges on tools | Cutting geometry and edge preparation | Edge condition inspection; correction only in non-functional zones |
Cutting-tool shanks and flutes are the extreme case of the last row, which is why Perceuse à canon et redressage de forets profonds treats contact-zone protection as a first-order process input alongside datum selection. The same hierarchy — classify the surface, define the inspection, prove the route on samples — scales down to ordinary bar work.
Quand le risque de surface nécessite un itinéraire différent
Si les zones de contact disponibles ne peuvent pas préserver l’intégrité requise de la surface ou de la section, la bonne décision peut être un outil différent, une étape de fabrication différente, une méthode de correction différente, allocation supplémentaire, une stratégie de mesure sans contact, ou un HOLD en attente d'examen technique. Ne forcez pas une pièce à suivre un itinéraire non validé pour atteindre un objectif de production. Soudé liquid cooling manifolds are one workpiece family where contact-zone risk must be reviewed before any press cycle.
Pour les limites de parois minces et de revêtements, voir redressage d'arbre creux à paroi mince et mesure de rectitude avec contact ou sans contact.
FAQ
Les tampons souples empêchent-ils tous les dommages de surface?
Non. Géométrie des contacts, chemin de force, débris, porter, l'alignement et la surface de la pièce doivent tous être validés.
Une rainure de rouleau peut-elle être réutilisée pour chaque section?
Non. Géométrie des sections, état des murs, les exigences de surface et le chemin de réaction déterminent si une rainure est adaptée.
L’inspection visuelle seule est-elle suffisante?
Non. Le processus doit également démontrer la géométrie à l'état libéré et la méthode d'acceptation de surface/caractéristique convenue..
Which surface classes need protection most?
Plated or coated surfaces, polished flanks, soft non-ferrous sections, thin walls and functional edges on cutting tools. Each class has a different failure mode — coating cracking, aplanissement, bosselure, edge damage — so the inspection method has to match the failure mode, and the sample test must prove both surface and released-state geometry.
How is tooling wear turned into an objective criterion?
By writing a measurable limit into the tooling record before production starts: groove profile deviation from the original form, dimensional change of inserts, embedded debris that cleaning cannot remove, or a counted number of correction cycles. When the limit is reached, the tooling element is replaced or reconditioned and the first parts after the change are requalified under sample-test rules.
Does support placement really affect surface damage?
Oui, strongly. Support span and press-point location determine the force the operation needs, and edge radii determine how that force concentrates. Moving supports closer to the correction zone and keeping every contact edge radiused often reduces witness severity more than any change of insert material, because it attacks force and geometry instead of only the contact pair.
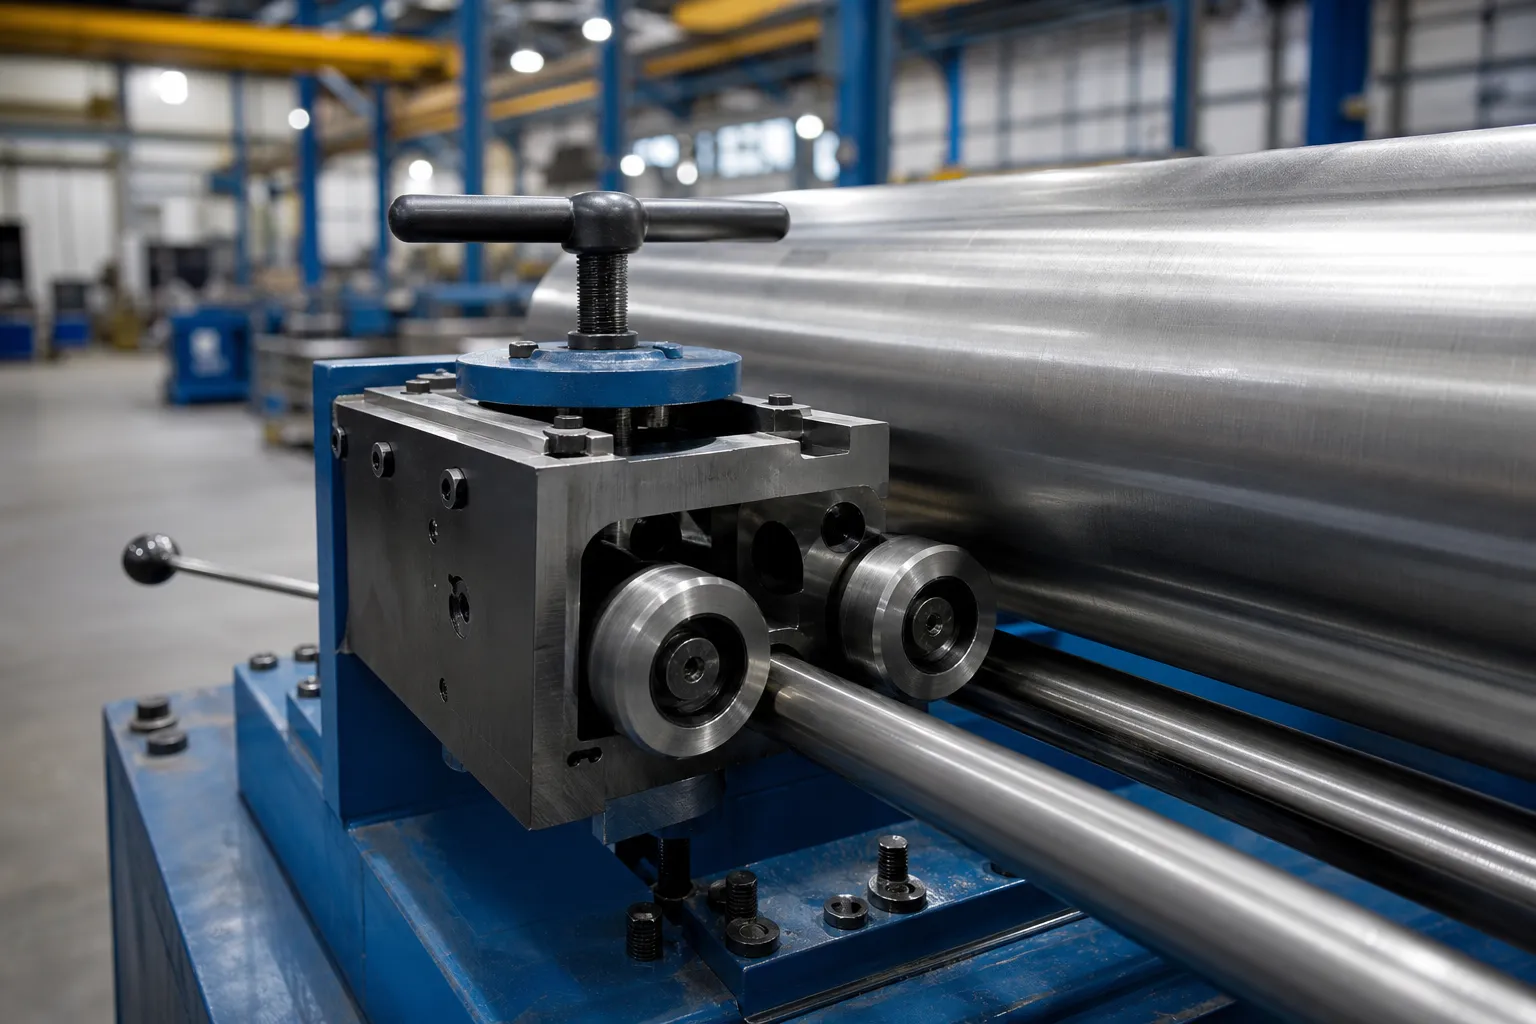
*Illustration du concept d'ingénierie.*
Lissage avant ou après le placage ou le revêtement
Lissage avant vs après placage ou revêtement est traité comme un sujet de contact de surface et de risque lié à l'outillage plutôt que comme une URL autonome. Vérifier la dureté du revêtement, limites de contrainte de contact et de reprise sur la page outillage de protection de surface et sur la page pièce concernée avant de choisir l'étape de redressage.
Surface protection decisions like these show up directly on the finished part – le guide des repères d'outillage covers contact damage in detail, et un redressement excessif et des fissures covers the deformation side of the same risk.