
Wire straightener setup should begin with a controlled baseline, not a remembered roll position. Coil condition, material and temper, osio, pinta, loppuratkaisu, guide alignment, feed and cutter behavior and cut length can all change the released result. The setup goal is a traceable recipe for a defined wire and part requirement—and a recipe that any trained operator can reproduce on the next shift, not a tuned state that exists only in one person’s hands.
Scope note: this guide covers setup discipline for roll-type wire straightening lines in general terms. It does not state that StraighteningTech supplies a specific wire straightener, supports a particular wire range, roll count, asetusta, speed or surface outcome—those require representative coil trials. For how roll-type straighteners compare with rotary (spin-through) straighteners on cut-to-length lines, and where each architecture fits, see the companion analysis rulla vs. pyörivä langan oikaisu; this page stays on the setup method that applies once the architecture is chosen.

*Suunnittelukonseptin kuva. It compares process routes and does not provide a universal setup value.*
Adjust one controlled factor at a time and record the result. Avoid copying generic roll penetration, offset, feed rate or line speed: settings must come from the actual machine, wire and acceptance method. What follows is the sequence and the checks that make those settings trustworthy.
Establish the Baseline Before Touching a Roll
Most setup failures are inherited, not created: the machine is adjusted to compensate for a condition upstream of the straightener. Before the first roll change, walk the material path in order and record what is actually there:
- Coil identity and condition — supplier, paljon, material and temper, cast and helix state as received, storage and handling damage. A new coil lot is a process change, even when the part number is unchanged.
- Payoff and first guides — coil orientation relative to the line, decoiler brake state, guide alignment and wear. Cast released from the coil decides how much work the straightener is being asked to do.
- Roll and tooling identity — groove set installed, wear and cleanliness state, last recorded setup for this product. Matching the tooling register, not memory, prevents silent configuration drift.
- Feed and cutter condition — feed roll grip and marking, cutter sharpness, blade alignment, clamp state. Cut-end quality and cut length are part of the released part, ei jälkikäteen.
- Acceptance definition — the span, tukea, orientation and gauge on which the released cut part will actually be judged, agreed before the first trial cut.
Only when that picture is complete does roll adjustment begin. The discipline is unglamorous, but it is what separates a recipe from a lucky run.
A Setup Sequence That Converges
Convergence problems almost always come from adjusting several stations at once. A workable sequence for a multi-roll straightener, generic by design:
- Set entry and exit guidance first. The wire must present to the first roll and leave the last roll on a defined path. Guiding problems imitate straightening problems, and no roll setting fixes them.
- Start from light engagement. Begin with minimal penetration and increase in single, recorded steps. Aggressive first settings can coil-set the wire or mark the surface before anyone has seen the trend.
- Work upstream to downstream, one station at a time. After each change, cut a defined sample and measure the released result—not the in-line appearance—before the next adjustment.
- Lakaista, then split. If the trend across steps is monotone, bracket the setting and split the interval. If results scatter without a trend, stop: scatter means an uncontrolled input (coil variation, guide fault, roskia) is in charge, and roll chasing will amplify it.
- Verify at production conditions. Line speed, feed behavior and cutter action all change the released state. A setting tuned at crawl speed is a hypothesis until it has run at rate.
Two-plane roll arrangements—vertical and horizontal correction stations—are set with the same rule applied per plane: one plane at a time, sample measured between steps, before the combined state is tuned. For the architecture context and where two-plane roll lines suit cut-to-length production, katso rulla vs. pyörivä langan oikaisu; for a fine-wire application boundary, the fine stainless steel wire straightening process page covers that regime.
Check Both Geometry and Surface
After an adjustment, inspect the released cut sample at the agreed span and orientation. Also inspect surface condition, pinnoite, osio, lopputila, cut length and any residual twist relevant to downstream use. A wire that looks straight while constrained in the line may change after cutting and release—the release path, drop and collection behavior are part of the result you are tuning.
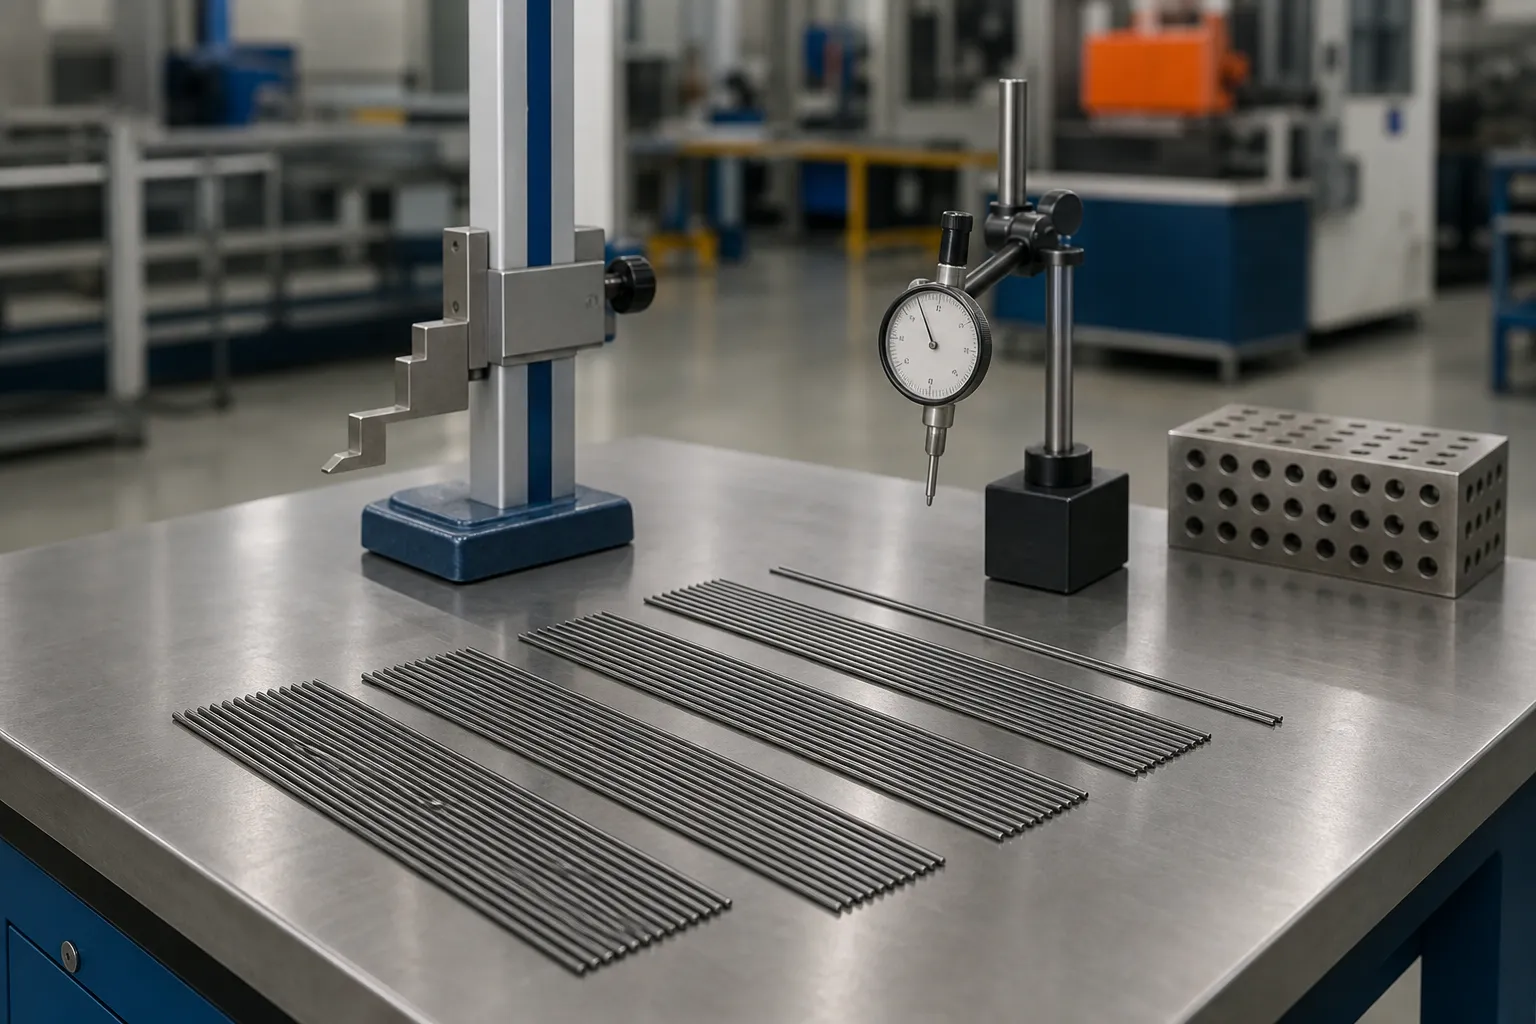
*Suunnittelukonseptin kuva. Tuki, jänneväli, gauge and acceptance limits must be defined by the controlled inspection method.*
Read the sample as a diagnostic, not just a pass/fail: bow direction relative to the line, bow magnitude trend across the cut samples, twist if the downstream operation is sensitive to it, and surface artifacts located to a station (entry guide, specific roll, feed rolls, cutter). Each pattern points at a different adjustment target, and writing the observation down is what makes the setup auditable later.
Common Setup Mistakes
- Chasing the bow. Adjusting a different station after every sample reads like progress and converges on nothing. One factor at a time, with recorded outcomes, is the only route to a stable recipe.
- Judging straightness in the line. Constrained geometry is not the released condition. Every acceptance decision in a setup run belongs to the bench, at the agreed span and support.
- Ignoring cast and helix from the coil. Residual curvature and twist from winding are inputs the straightener must overcome; a coil lot with different cast behaves like a different product and reopens the setup.
- Treating cut quality as separate from straightening. Cutter state, clamp design and feed stability leave end conditions and sometimes length variation that downstream assembly reads as a straightness fault.
- Not re-baselining after a coil change. The most common drift report we review is a stable recipe that stopped working when a new coil lot entered—without anyone logging the coil change as a process event.
- Optimizing one sample. A recipe accepted on the single best piece of the run is tuned to noise. Acceptance belongs to the defined sample count, including worst-case pieces.
Freeze and Maintain the Approved Recipe
Once a representative trial is accepted, the recipe must stop being a set of numbers and become a controlled record: material range and coil condition, tooling and groove identity, guide path, approved setting references with their recording method, feed and cutter condition, inspection result, first-piece rule, adjustment authority and change triggers. Define who may adjust, under what evidence, and what revalidation each change class requires:
| Change event | Minimum revalidation |
|---|---|
| Coil lot change | First-piece released check against recipe |
| Wire size or material change | Full setup trial; new recipe record |
| Roll regrind or replacement | First-piece check plus surface review |
| Guide or path repair | Baseline sample before resuming rate |
| Acceptance method change | Correlation between old and new gauge rule |
| Speed or feed change | Verification at the new condition |
Käyttää straightening roll groove selection ja pintasuojaustyökalut suoristukseen to control the contact risk underneath the recipe, ja roller wear and maintenance guide for the tooling condition trend between setups. Prepare representative coils and the oikaisunäytteen testi- ja hyväksymisopas, sitten ota yhteyttä StraighteningTechiin hakemuskeskusteluun.
The First-Piece Rule and Shift Handover
A recipe survives contact with reality only if its restart conditions are defined. Every production start—shift change, coil change, cutter or guide intervention, machine stop of any significance—should trigger the same cheap, fixed sequence: verify tooling identity and path condition against the recipe record, run the defined first-piece sample, measure it in the released state at the agreed span, and compare against the acceptance band recorded in the recipe. The comparison is against the record, not against “how it looked last time.”
Handover is where most recipes quietly die. The outgoing operator knows which adjustment was “a little touchy”; the incoming operator inherits numbers without that context. Close the gap structurally: the recipe record names the adjustment authority (who may change which setting class and on what evidence), a shift log captures deviations and observations, and any out-of-band adjustment triggers at minimum a first-piece verification before production resumes. Lines that skip this discipline do not lose the recipe in one dramatic failure—they lose it in a series of undocumented nudges until one day the recorded settings no longer describe the machine, and the only recovery is a full re-trial.
Where the released result of a verified recipe starts to disagree with the customer’s own gauge over time, stop adjusting and investigate the measurement relationship first. The machine gauge versus customer gauge correlation guide covers that separation; a stable setup wrongly blamed for drift is one of the more expensive false trails in wire production.

*Suunnittelukonseptin kuva.*
Usein kysytyt kysymykset
How many samples define a good setup?
Enough to see the trend rather than the noise: a defined count per adjustment step, and a defined acceptance count at the end—including pieces from the worst coil condition you intend to run. The number depends on your tolerance and process variation, which is why it belongs in the recipe record instead of a universal rule.
Why does the setup drift overnight with nothing changed?
Usually because something did change that was not logged: a new coil, lämpötila, a guide nudged during cleaning, or debris accumulated in a groove. Drift investigation starts from the baseline record—compare tooling state, coil identity and path condition against the recipe, before touching roll settings.
Should the line be tuned at full speed?
Converge at a controlled low speed where measurement is reliable, then verify the recipe at production rate. Speed changes the released state through feed dynamics and cutter behavior, so the final acceptance must always include production-speed samples.
Is twist part of wire straightener setup?
Where the downstream operation is twist-sensitive, yes—residual helix from the coil can survive a geometry-only setup. Measure twist on released samples and record it in the recipe, and treat guide condition and roll groove mismatch as the first suspects when it appears.
What is the single most valuable setup habit?
Writing everything down at the moment it happens: coil identity, station settings, sample results, observations. Every later question—drift, quality dispute, recipe transfer to another shift—is answered from that record or not at all.
Spring Wire Straightening and Cutting: Consolidated Intent
There is no standalone page for spring wire straightening and cutting because the exact query has unstable organic intent and the engineering content is shared: coil-fed setup discipline lives here, the roll-versus-rotary architecture decision is covered in rulla vs. pyörivä langan oikaisu, and consumable-wire production practice is covered on the welding wire straightening solution sivu. Treat spring-wire geometry, coiling downstream effects and cut-quality acceptance as project inputs rather than assumed machine ranges.
Aiheeseen liittyvät StraighteningTech-resurssit
Katso miten automaattinen akselin oikaisu toimii for the closed-loop machine context, suoristusnäytteen testaus ja hyväksyminen for trial structure, ja akselin suoruus vs juoksu vs TIR for the characteristic definitions the released sample must satisfy.