
Overfladebeskyttelse ved glatning er en ingeniørbeslutning, ikke blot tilføje en blød pude. Arbejdsemnets materiale, afsnit, slutte, belægning, smøring, kontaktgeometri, kraft vej, værktøjets renhed og slidtilstand kan hver især påvirke mærker, udfladning, lokal skade og det geometrisignal, der bruges til at styre processen. En kontaktmetode, der er acceptabel for én bjælke, ledning eller aksel kan være uacceptabel for et belagt rør, præcisionsjournal, profilhjørne eller færdigt værktøj.
Denne vejledning forklarer en valideringsramme. Det hævder ikke, at StraighteningTech har et bestemt rullemateriale, belægning, rilleform, trykgrænse eller emneoverfladeevne. Disse elementer kræver bevis fra det faktiske værktøj og repræsentative prøver.
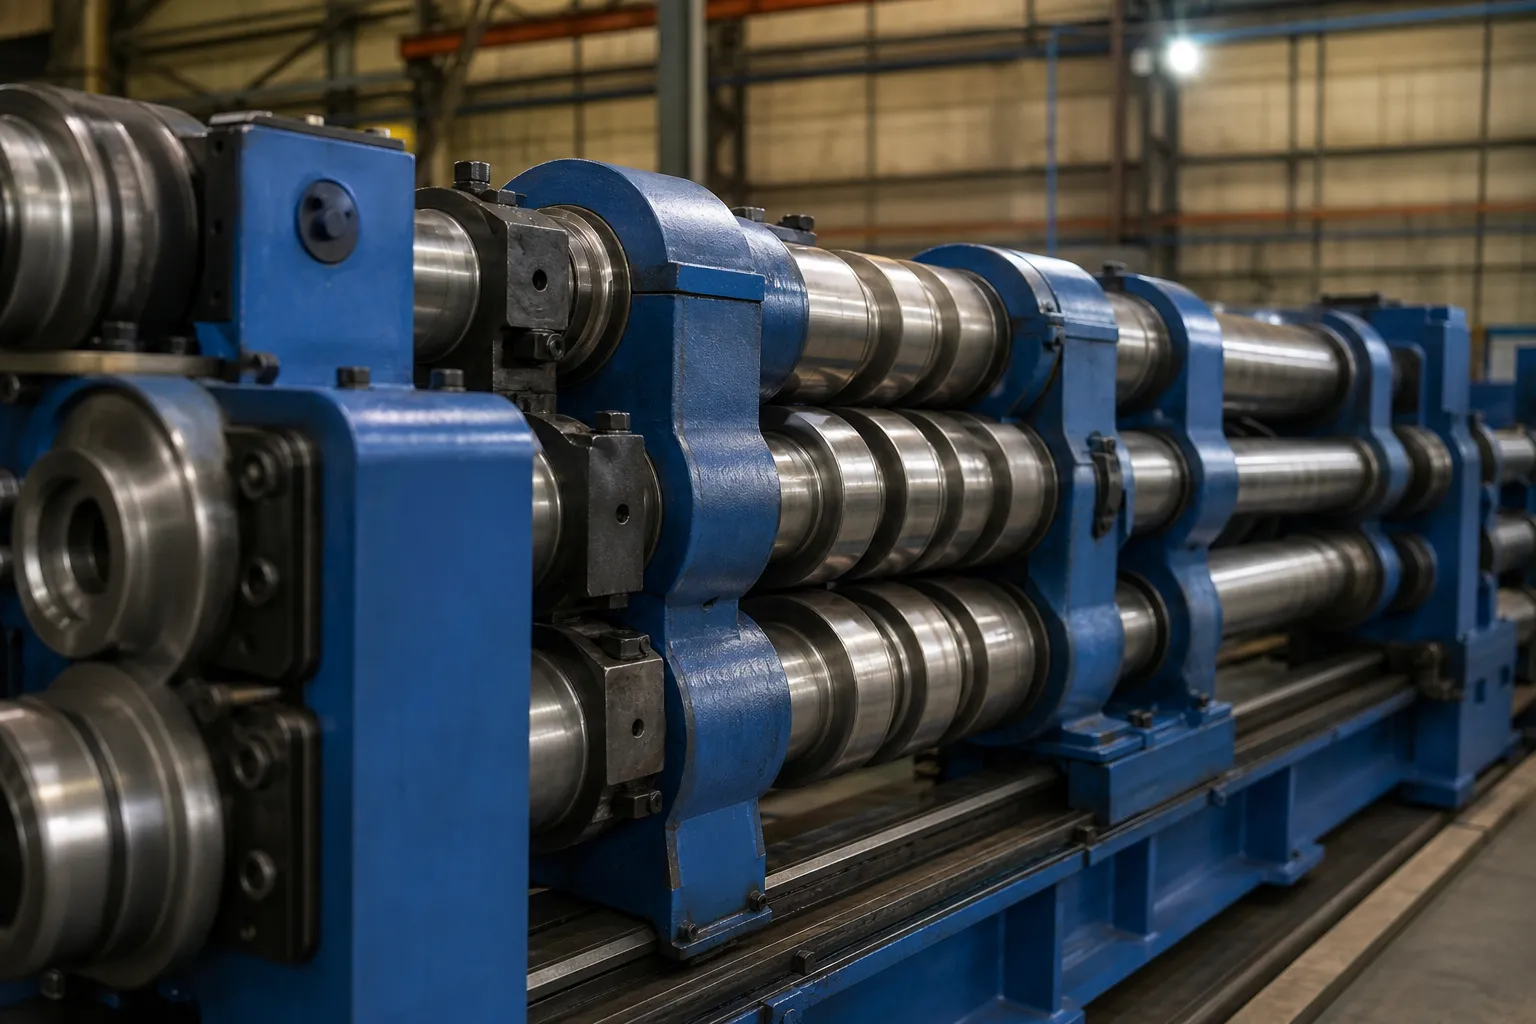
*Engineering koncept illustration. Den viser belægningsbeskyttelse som et emnespecifikt valideringsproblem, ikke bevis for en godkendt universalrille eller kontaktmateriale.*
Før en retssag, dokumentere værktøjets identitet, materiale/finish hvor kendt, kontaktgeometri, opsætningssted, justering, rengøringsmetode, smøretilstand, hvor det er relevant, inspektionsstandard og udskiftnings-/slidtærskel.
Where Marks Actually Come From
Surface damage in straightening has a short list of physical causes, and naming them is the first step to controlling them. Normal contact pressure between tooling and workpiece, multiplied by any relative sliding, produces the classic witness line. Debris trapped in the contact zone — scale, chips, grinding swarf — converts ordinary pressure into indentation and scratching, which is why cleanliness is a process variable rather than housekeeping. A contact geometry that concentrates load on an edge or a radius that is too small for the section raises local stress far above what the average force suggests. And beyond a threshold specific to each material and heat-treatment state, local plastic flattening of asperities or of the section itself changes surface geometry permanently. A bruised corner on a profile or a flattened zone on a thin wall is a geometry defect, not only a cosmetic one.
Every one of those causes has a countermeasure that lives in tooling design and process discipline: distribute force through larger or conforming contact areas, eliminate sliding by aligning the correction stroke with the support plane, exclude debris through scheduled cleaning and covers, and keep forces within the range the section can carry elastically. None of them is a pad. Soft inserts are one option among several, and they bring their own trade-offs — softer contact materials wear faster, deform under sustained correction cycles, and can change the effective support geometry as they age, which quietly alters the correction result.
Tooling Material and Contact Geometry Decisions
Selecting contact tooling is a three-way trade between surface protection, dimensional stability of the tooling itself, and wear life. Hardened steel tooling holds its groove geometry through long runs and keeps the measurement-and-correction loop repeatable, but it concentrates contact stress and tolerates no debris. Softer non-ferrous alloys and polymer inserts lower local stress and forgive small particles, at the cost of faster wear and periodic requalification of the contact form. Conformal contact — a groove or saddle matched to the section radius — spreads load compared with a flat anvil face, and generous radii on every edge that can touch the workpiece remove the stress concentrations that cause bruising even at moderate force.
Two disciplines make those choices verifiable instead of habitual. Først, each tooling element needs an identity: materiale, contact form, the workpiece zones it is approved for, and a wear limit stated as a measurable criterion — profile deviation of the groove, visible embedding, dimensional change of the insert — not as a judgment call. Anden, a change in any contact component is a process change: the first parts after a roll change, an insert renewal or a re-ground anvil run under the same sample-test evidence rules as a new setup, because the surface and geometry result must be reconfirmed, ikke antaget. These are the same change-control habits that maskine FAT tjeklister enforce at acceptance, applied daily.
Hold værktøjet rent og kontroller slid
Indlejret affald, slidte riller, beskadigede ruller, fejljustering og inkonsekvent justering kan give mærker eller vildledende geometri. En beskyttelsesplan bør angive inspektionshyppigheden, rengøringsmetode, slidkriterier, værktøjsskiftekontrol og en genkvalifikationskontrol efter en ændret kontaktkomponent. Det bør ikke stole på en visuel erklæring om, at værktøj "ser fint ud."

*Engineering koncept illustration. Den skildrer beskyttet kontakt som et teknisk krav; det etablerer ikke et lokalt rullemateriale, trykgrænse eller garanti for overfladekvalitet.*
Valider overflade og geometri sammen
Overfladebeskyttelse kan ikke kun valideres ved at kontrollere for synlige ridser. Prøveprøven skal også bekræfte den tilsigtede geometri under det godkendte datum og frigivet tilstand. En rute, der beskytter overfladen, men ikke kan opfylde den krævede geometri, er ikke acceptabel; en rute, der opfylder geometri, men beskadiger en funktionel belægning, er ikke acceptabel.
| Valideringselement | Bevis påkrævet |
|---|---|
| Kontaktsted og reaktionsvej | Værktøjs-/opsætningsrecord knyttet til tegnezoner |
| Overfladetilstand | Aftalt kontrolmetode før og efter rettelse |
| Geometri resultat | Aflæsninger i frigivet tilstand på den godkendte datum/måler |
| Repeterbarhed af værktøj | Gentag opsætningen, renlighed og slidkontrol |
| Skift kontrol | Identifikation og genvalidering efter rulning/rille/værktøjsskift |
Bruge udretning prøve test og accept at definere bevispakken, og pres kontra rulleudretning for at afgøre, om en anden korrektionsmetode skal evalueres.
The Force Path Matters More Than the Pad
The most common surface-protection failure is treating contact risk as a material question while ignoring load path. Where the supports sit, where the press point acts, and how those locations relate to the stiff features of the section determine how much force the operation needs in the first place. A correction stroke applied mid-span between widely spaced supports demands far more force — and leaves far deeper witness marks — than the same correction applied with supports closer to the correction point, even with identical tooling. Aligning the press axis with the support plane so the part does not slide or rotate under load removes the sliding component of damage entirely. On sections with asymmetric stiffness, pressing in the wrong direction loads a thin wall in bending and creates local dents that no insert material can prevent.
This is why surface protection is designed jointly with the correction plan, not bolted on afterward. The error map that drives the correction points should also mark the zones where contact is forbidden — finished journals, coating on sealing surfaces, polished flanks — and the tooling layout should place supports and press points where the section can carry the load. When those two requirements conflict, that is precisely the signal to escalate to the alternative routes discussed below, following the disposition logic used when NOK parts are sorted and reworked.
Surface Classes and Their Sensitivity
Not all surfaces need the same level of protection, and treating them identically either wastes effort or ruins parts. The table below groups workpiece surfaces by their sensitivity drivers and the validation focus each class demands. It is a planning aid for the sample test, not a substitute for drawing requirements.
| Surface class | Sensitivity driver | Validation focus |
|---|---|---|
| Ground or turned journals | Dimensional and form tolerance on functional diameters | Witness depth against tolerance; geometry re-check at the journal |
| Plated or coated surfaces | Coating integrity; cracking or adhesion under local stress | Agreed coating inspection before and after correction |
| Polished flanks and edges | Cosmetic and functional roughness levels | Defined finish comparison method, not unaided visual judgment |
| Soft non-ferrous sections | Low hardness; risk of permanent flattening | Contact-area limits; section form re-measurement |
| Thin-wall sections | Local denting and ovalization from concentrated load | Support placement under stiff zones; roundness checks after correction |
| Functional edges on tools | Cutting geometry and edge preparation | Edge condition inspection; correction only in non-functional zones |
Cutting-tool shanks and flutes are the extreme case of the last row, which is why pistolboremaskine og dybhulsboreretning treats contact-zone protection as a first-order process input alongside datum selection. The same hierarchy — classify the surface, define the inspection, prove the route on samples — scales down to ordinary bar work.
Når overfladerisiko kræver en anden rute
Hvis de tilgængelige kontaktzoner ikke kan bevare den nødvendige overflade eller sektionsintegritet, den korrekte beslutning kan være et andet værktøj, et andet produktionstrin, en anden korrektionsmetode, ekstra godtgørelse, en berøringsfri målestrategi, eller en HOLD afventende ingeniørgennemgang. Tving ikke en del gennem en uvalideret rute for at nå et produktionsmål. Svejset liquid cooling manifolds are one workpiece family where contact-zone risk must be reviewed before any press cycle.
Til tyndvæggede og belægningsgrænser, se tyndvægget hulakselretning og kontakt versus berøringsfri rethedsmåling.
FAQ
Bløde puder forhindrer alle overfladeskader?
Ingen. Kontaktgeometri, kraft vej, affald, slid, justering og arbejdsemnets overflade skal alle valideres.
Kan en rullerille genbruges til hver sektion?
Ingen. Snitgeometri, vægtilstand, overfladekrav og reaktionsvej afgør, om en rille er egnet.
Er visuel inspektion alene tilstrækkelig?
Ingen. Processen skal også demonstrere frigivet tilstandsgeometri og den aftalte overflade-/funktionsacceptmetode.
Which surface classes need protection most?
Plated or coated surfaces, polished flanks, soft non-ferrous sections, thin walls and functional edges on cutting tools. Each class has a different failure mode — coating cracking, udfladning, buler, edge damage — so the inspection method has to match the failure mode, and the sample test must prove both surface and released-state geometry.
How is tooling wear turned into an objective criterion?
By writing a measurable limit into the tooling record before production starts: groove profile deviation from the original form, dimensional change of inserts, embedded debris that cleaning cannot remove, or a counted number of correction cycles. When the limit is reached, the tooling element is replaced or reconditioned and the first parts after the change are requalified under sample-test rules.
Does support placement really affect surface damage?
Ja, strongly. Support span and press-point location determine the force the operation needs, and edge radii determine how that force concentrates. Moving supports closer to the correction zone and keeping every contact edge radiused often reduces witness severity more than any change of insert material, because it attacks force and geometry instead of only the contact pair.
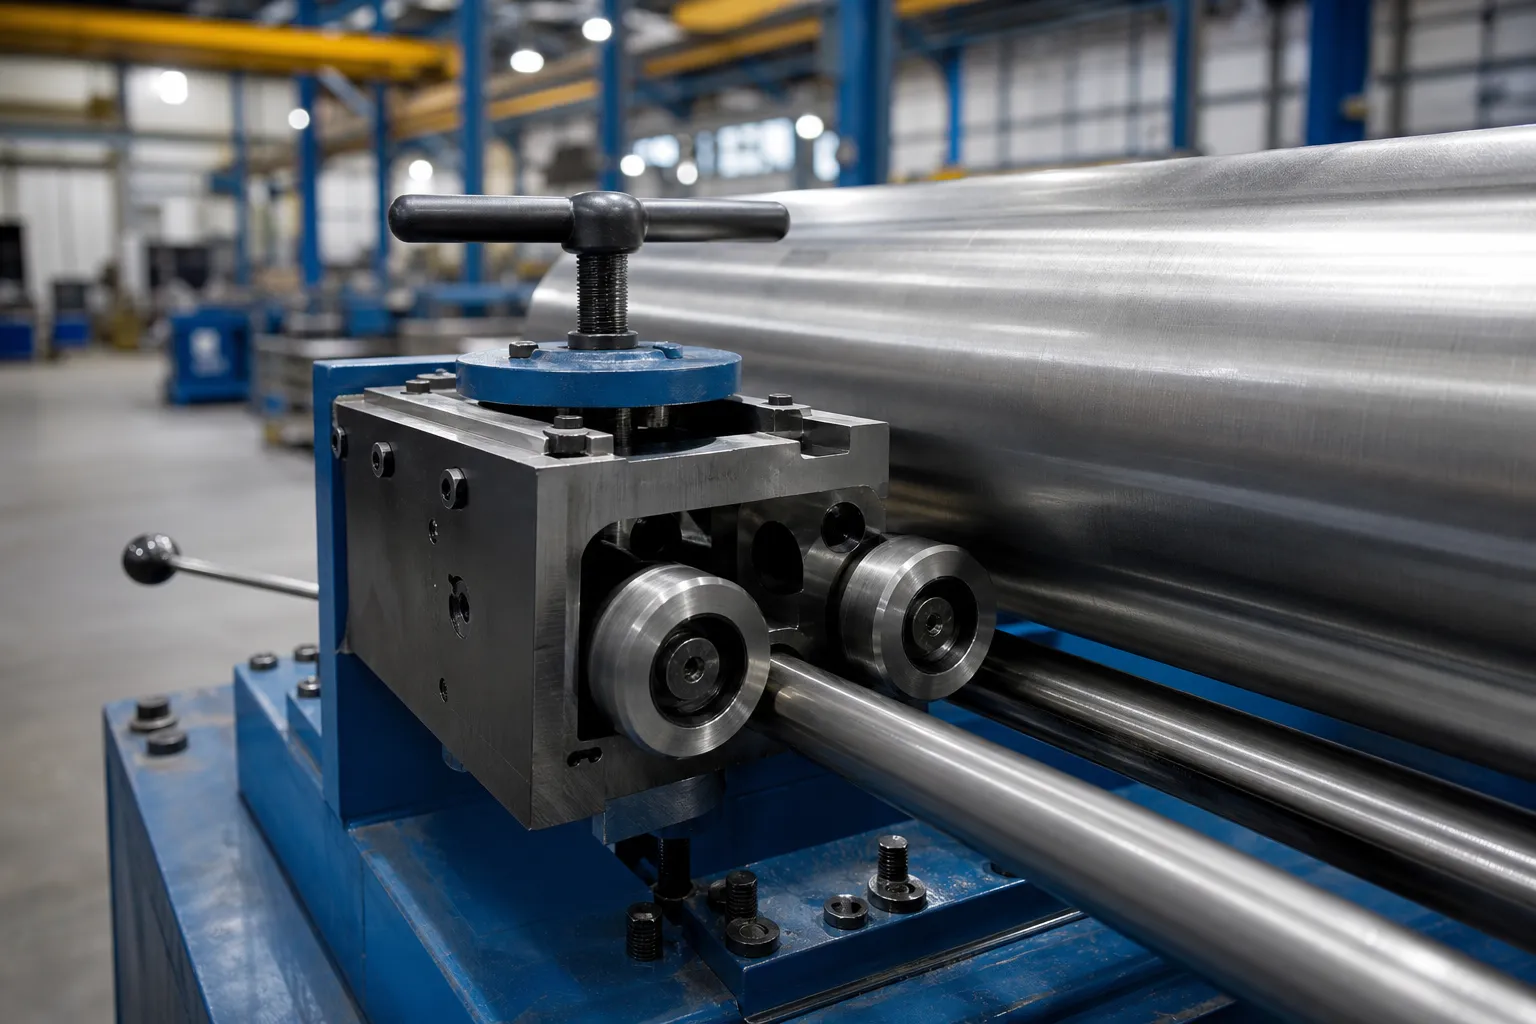
*Illustration af teknikkoncept.*
Opretning før vs efter plettering eller belægning
Opretning før vs efter plettering eller belægning håndteres som et emne for overfladekontakt og værktøjsrisiko snarere end en selvstændig URL. Gennemgå belægningens hårdhed, kontaktspænding og omarbejdningsgrænser på overfladebeskyttelsesværktøjssiden og på den relevante emneside, før du vælger udretningstrin.
Surface protection decisions like these show up directly on the finished part – de guide til værktøjsmærker covers contact damage in detail, og overopretning og revner covers the deformation side of the same risk.